
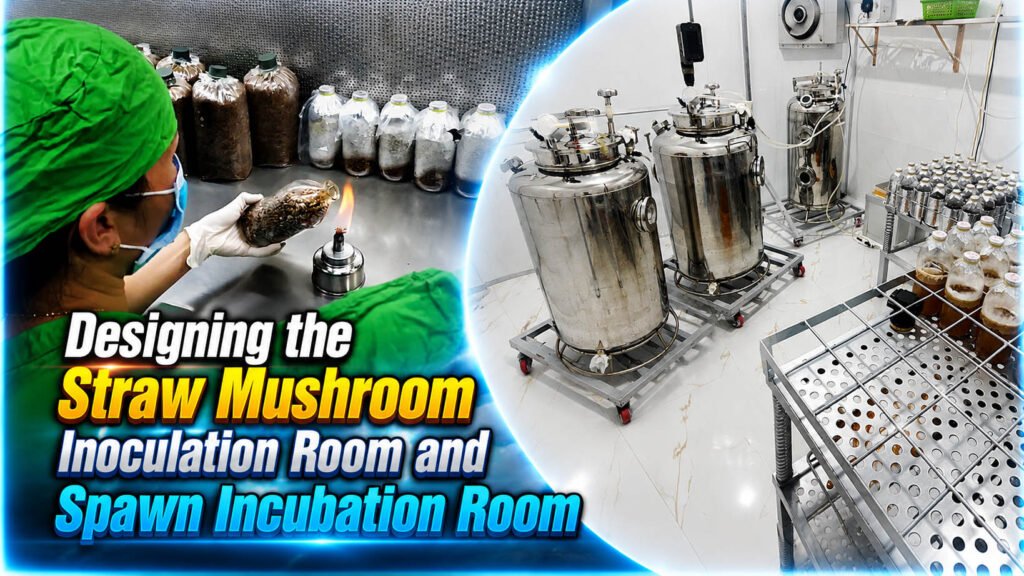
High-Yield Straw Mushrooms, Part 3: Inoculation Rooms & Spawn Run
In Part 2, we covered the sterilization equipment straw mushroom spawn production depends on. Once that equipment is in place, the next step is setting up the right facilities for inoculation and spawn run (mycelium incubation). Depending on your budget, there are several setups to choose from, ranging from a simple inoculation box to a professional-grade clean room. This guide walks through each option and the technical requirements that make straw mushroom inoculation successful.
Professional Straw Mushroom Inoculation Room
An inoculation room is a sterile, high-cleanliness space. The floor should be smooth with proper drainage; walls should be coated with waterproof or white paint for easy washing and sterilization. Outside the inoculation room sits a buffer room — the same length as the inoculation room, about 1 m wide, fitted with a clothes rack. Both rooms should use sliding doors.
| Item | Specification |
| Inoculation room size | ~2 m long × 2 m wide, ~2.2 m tall |
| Lighting/sterilization (per room) | 1 UV lamp + 1 fluorescent lamp |
| UV germicidal effectiveness | Kills 99.1% of Bacillus subtilis and Bacillus subtilis var. niger (at 98% air humidity, 5.67 mg/m³ ozone concentration) |
| UV lamp placement | Mounted at ceiling height, about 1.5 m above the work table |
| Optimal temperature for UV effectiveness | 26.7°C (effectiveness drops at high humidity) |
| Inoculation room pressure | Positive pressure, 30.4–50.7 kPa (0.3–0.5 atm) higher than outside, to keep contaminated air from flowing back in |
| Buffer room width | Same length as the inoculation room, ~1 m wide |
If your budget allows, VNmushrooms Farm recommends adding an air filtration system to remove dust and contaminant microorganisms.
A sterile ventilation setup includes a centrifugal fan, a filtered air box, and ductwork. Sterile air should enter through the center of the ceiling and exit through a vent in a lower corner, routed out through the buffer room and then the changing room.
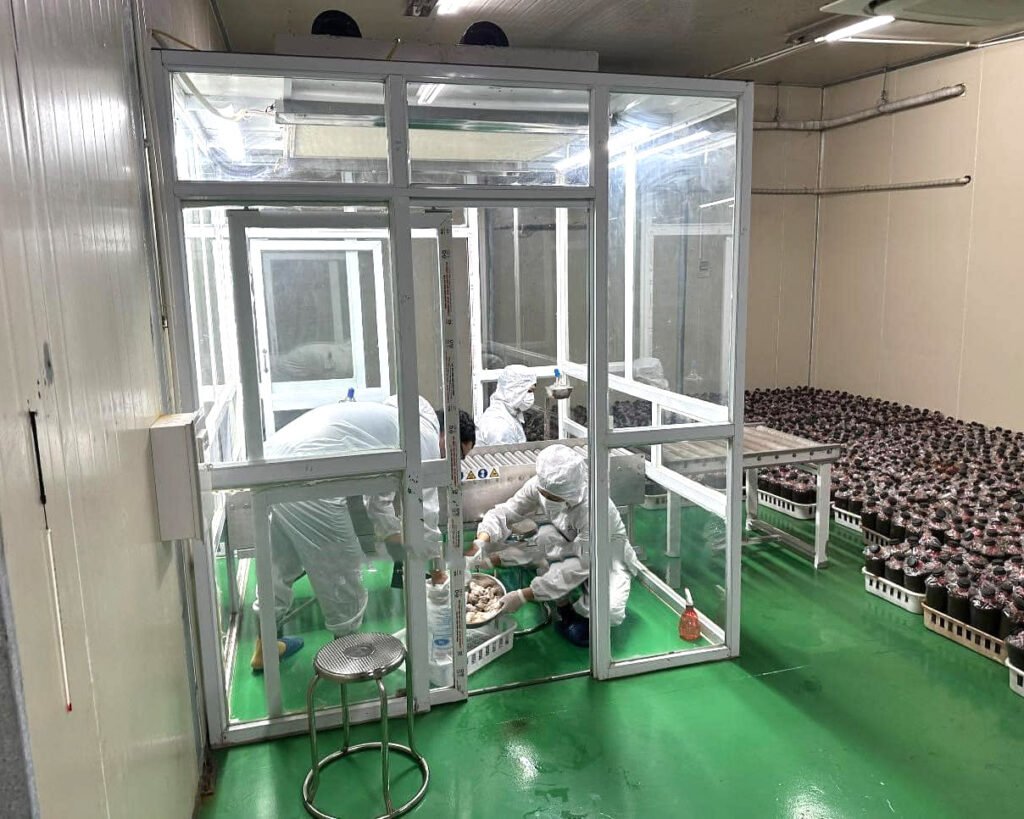
The inoculation room can also house a laminar flow hood (a clean workstation) — it filters air to create a sterile stream, then blows that clean air in one consistent direction from its vent, keeping the work surface inside the hood locally sterile.
Semi-Professional Straw Mushroom Inoculation Setups
Not everyone starting out in straw mushroom cultivation has the resources to build a fully equipped inoculation room. Fortunately, there are three budget-friendly setups that still support effective inoculation: an inoculation box, steam-shielded inoculation, and an inoculation tent.
1. Inoculation Box
When budget and growing space are limited, an inoculation box is a practical way to carry out spawn inoculation.
The top two sides of the box are angled, with windows that close tightly against the frame. Each of the two lower side panels has two glove-port openings — during inoculation, the operator reaches through these sleeve openings to work inside the box. The box is fitted with both a UV lamp and a fluorescent lamp.
2. Steam-Shielded Inoculation
This method takes advantage of the sterile zone that forms just above a rising column of steam. The setup can be improvised from a heat source (an electric or coal stove), a small-mouthed kettle or pot of water, and a work surface positioned above it.
The work surface has a 10 cm × 20 cm opening sized to fit snugly over the kettle’s (or pot’s) mouth, so the rising steam concentrates and vents up through this opening. Before inoculating, heat the water until steam rises and forms a sterile zone above the opening — that’s the signal that inoculation can begin.
To inoculate, position the mouth of the mother spawn bottle and the mouth of the bottle being inoculated facing each other directly over the opening, then inoculate using the standard technique.
3. Inoculation Tent
A straw mushroom inoculation tent is built as follows:
| Item | Specification |
| Material | Agricultural plastic film, 3 m wide, 0.05 mm thick |
| Tent size | 3 m long × 3 m wide × 3 m tall |
| Tent walls | Cut a 13.5 m length of film and wrap it around to form a 3 m cube |
| Tent roof | Cut a 3 m length of film and seal it to the top edge of the walls |
| Hanging height in use | ~2.5 m (the remaining 0.5 m is folded inward) |
| When to take the tent down | Once mycelium growth reaches 5–10 cm |
| Output per inoculation session | About 1,000 spawn bags, over roughly 5 hours |
How to set up the inoculation tent:
Leave one side of the tent as a seam that can be opened and closed to serve as a door, letting the operator move in and out and allowing for ventilation and moisture release. Tie cord to the four top corners so the tent can be hung. The result is a plastic inoculation tent shaped much like a mosquito net.
Before use, clean the area thoroughly, hang the tent, and move the cooled spawn bags inside, lining them up along the tent walls and pressing the folded plastic edges tight. Leave an open space in the middle of the tent for the inoculation table and a walkway for the operator. Once inoculation is finished, the bags can be incubated right there on the spot, sealing each bag opening with a spawn plug. Only take the tent down once mycelium growth reaches 5–10 cm.
Which setup is best for Straw mushroom inoculation?
Choosing the right inoculation setup is one of the key factors behind a successful, high-quality straw mushroom spawn run. Use the table below to match the right option to your production scale and budget:
| Option | Investment Level | Best Suited For |
| Standard inoculation room | Highest cost — fixed construction, fully equipped | Large-scale spawn producers running production regularly |
| Inoculation box | Low cost — compact, can be self-built | Household-scale, irregular production |
| Steam-shielded inoculation | Most economical — uses an electric or coal stove you already have | Small scale, simple DIY setup |
| Plastic-film inoculation tent | Moderate cost — requires building a tent, but handles larger volumes | Large batches (around 1,000 bags) in a short window |
3. Spawn Run Room
After inoculation, spawn bottles (or bags) need to incubate at the right temperature. To make the best use of space, set up shelving made from bamboo, wood, or angle steel. Line the shelf surfaces with wood boards or plastic sheeting to hold the spawn bottles or bags.
| Item | Specification |
| Width of center-of-room shelving | 1.2–1.4 m |
| Width of wall-mounted shelving | 0.7–0.9 m |
| Number of shelf tiers | Typically 5–6 tiers |
| Spacing between tiers | ~0.5 m |
| Bottom tier clearance from floor | 0.3 m |
| Top tier clearance from ceiling | At least 1 m |
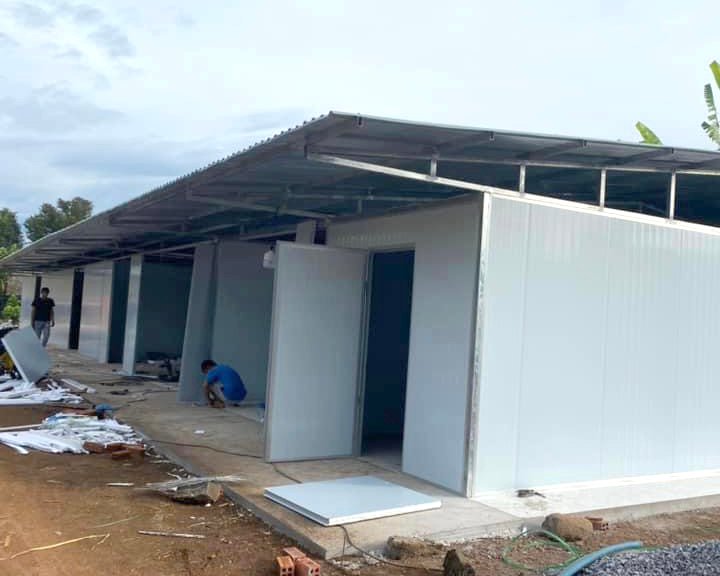
Design notes for the spawn run room:
To make it easy to control temperature, humidity, and ventilation, the room needs a floor-level vent and an air conditioning unit. Fit the vent with an insect screen — close it when heat needs to be retained, open it when ventilation is needed.
During the spawn run stage, bags can incubate without light. When inspecting them, use a handheld light or a fluorescent lamp.
Growing Straw Mushrooms: Frequently Asked Questions
Which inoculation setup should I choose for small-scale straw mushroom growing?
If you’re only inoculating small, irregular batches, an inoculation box is the compact, low-cost, easy-to-build option. An inoculation tent makes more sense when you need to process a large batch (around 1,000 bags) in a short window, since it offers far more working space than a box — though it also takes more effort to set up and sterilize.
Is the steam-shielded inoculation method reliable?
It can’t match the sterility of a standard inoculation room with air filtration and positive pressure. It’s a stopgap solution — you accept a higher risk of contamination in exchange for near-zero cost. If contamination rates stay high after repeated use of this method, it’s worth switching to an inoculation box or investing in a proper inoculation room once your scale justifies it.
Does the spawn run room need air conditioning?
Air conditioning helps keep the temperature more stable, which matters most during unpredictable weather. At small scale, though, an enclosed, well-ventilated room that’s shielded from outdoor temperature swings can work fine — as long as you monitor actual temperatures closely and have a backup plan (fans, shading) for when adjustments are needed.
Can a plastic-film inoculation tent be reused?
Yes, as long as the film isn’t torn or punctured after each use. That said, before every new inoculation run, the tent still needs to be cleaned and re-sterilized from scratch, just like any other inoculation area — that step can’t be skipped just because the tent has been used before.
Is the UV lamp harmful to the person doing the inoculation?
UV light used for air sterilization can harm skin and eyes with prolonged direct exposure. That’s why the UV lamp should be run to sterilize the room or box before work begins, then switched off while the operator is actually inside inoculating.
For a high-quality, high-yield straw mushroom crop, growers should research and invest properly from the start in these four areas:
- Sterilization equipment for straw mushroom spawn production
- Facilities for straw mushroom spawn production
- Equipment and tools for straw mushroom spawn production
- Chemicals used in straw mushroom spawn production
When it comes to straw mushroom spawn production, you don’t need to over-invest in inoculation and spawn-run equipment. What matters more is understanding the technical specifications and sterile technique needed to minimize contamination risk throughout inoculation and incubation.
Up next in this series, we’ll cover the heating and humidity equipment straw mushroom spawn production relies on. To learn more about straw mushroom production technique and quality growing practices in the meantime, feel free to reach out to the VNmushrooms Farm engineering team — we’re happy to help.
- Growing Straw Mushrooms on Cotton Waste: Outdoor & Indoor
- High-Yield Straw Mushrooms, Part 2: Spawn Sterilization Equipment
- High-Yield Straw Mushrooms, Part 5: Common Chemicals Used
- High-Yield Straw Mushroom Growing: Part 9 – Setup & Disinfection
- High-Yield Straw Mushrooms, Part 4: Heating, Humidity & Tools
Bài viết cùng chủ đề:
-
Growing Straw Mushrooms on Cotton Waste: Outdoor & Indoor
-
Growing Straw Mushrooms on Cottonseed Hulls: Outdoor & Indoor
-
10 High-Quality Straw Mushroom Strains: Selection Guide
-
High-Yield Straw Mushroom Growing: Part 9 – Setup & Disinfection
-
High-Yield Straw Mushrooms, Part 8: Spawn Quality & Storage
-
High-Yield Straw Mushrooms, Part 7: Grade II & III Spawn
-
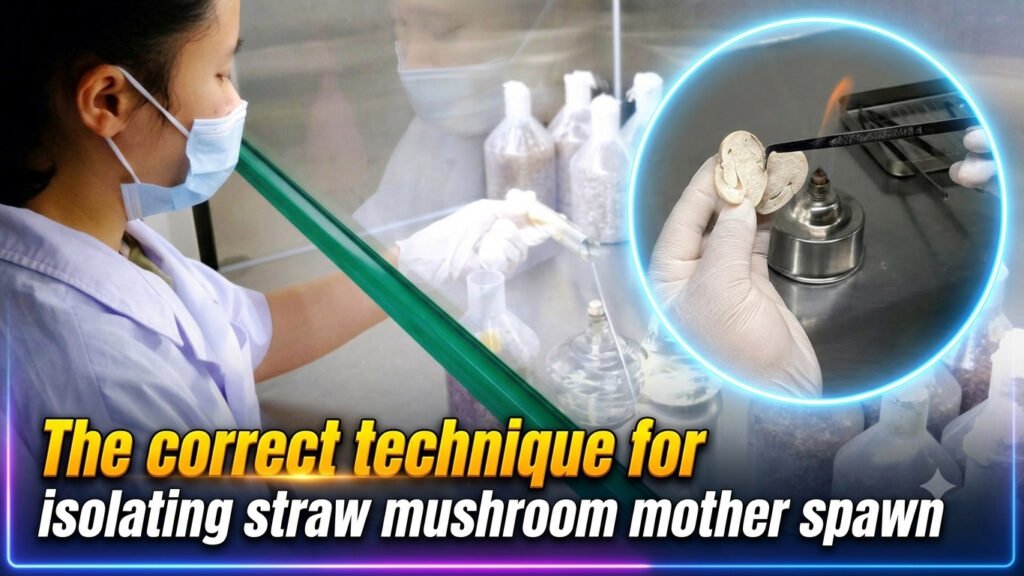
High-Yield Straw Mushrooms, Part 6: Mother Spawn Production
-
High-Yield Straw Mushrooms, Part 5: Common Chemicals Used
-
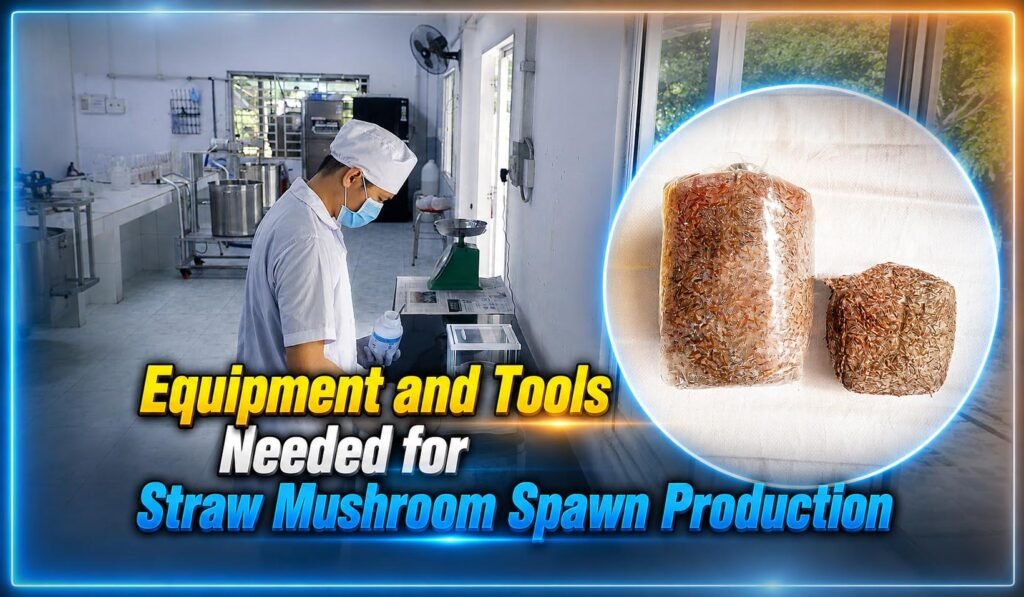
High-Yield Straw Mushrooms, Part 4: Heating, Humidity & Tools
-
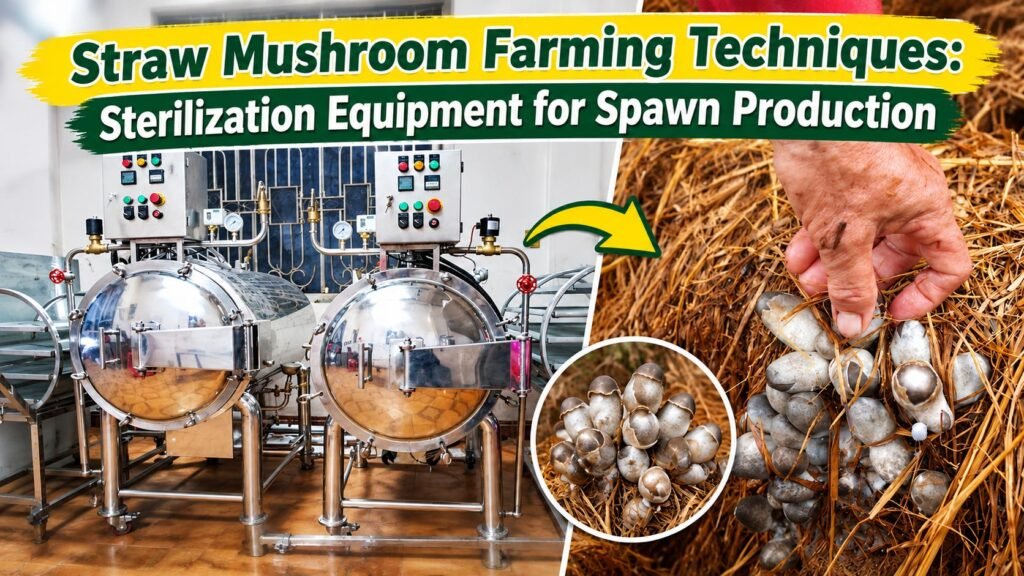
High-Yield Straw Mushrooms, Part 2: Spawn Sterilization Equipment
-
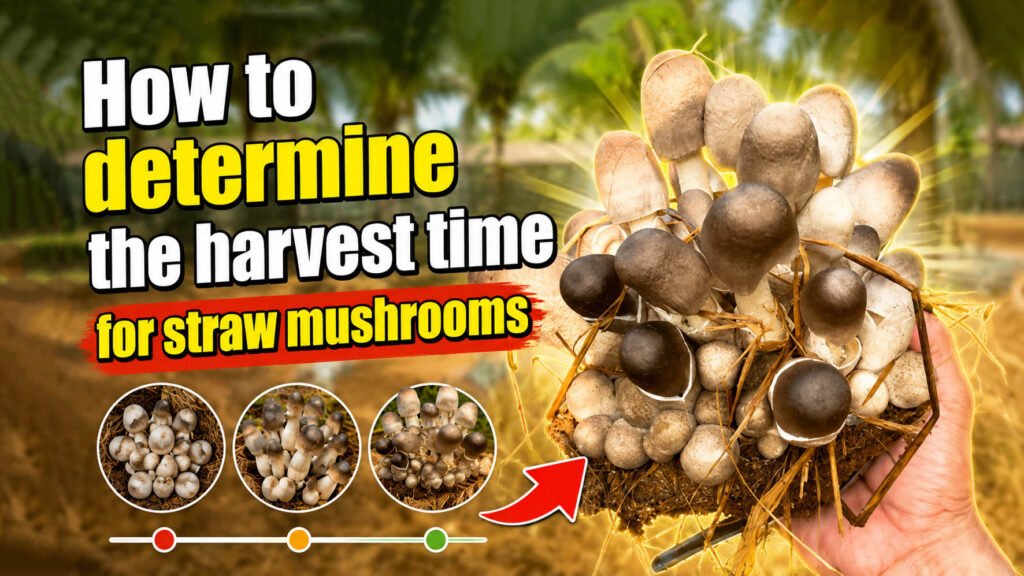
Straw Mushroom Growth Stages: When to Harvest for Best Yield
-

Straw Mushroom Farming: Low-Cost, High-Return Business