
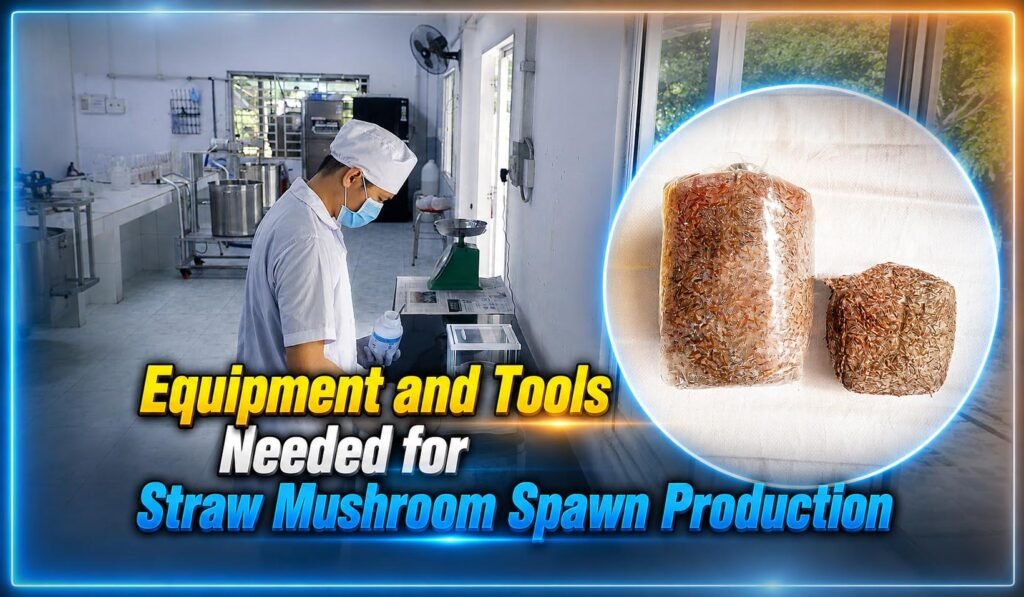
High-Yield Straw Mushrooms, Part 4: Heating, Humidity & Tools
In Part 3 of our “Standard-Grade Straw Mushroom Spawn Production” series, we covered how to choose the right setup for your inoculation and spawn run rooms. So what equipment do those rooms actually need to control temperature and humidity — and what tools do you need for hands-on inoculation work? Let’s dig into Part 4.
A standard straw mushroom spawn production room needs three main categories of equipment and tools: heating equipment, humidifying equipment, and spawn-making tools. VNmushrooms Farm breaks down each category below, with the technical specs growers need to know.
1. Heating Equipment
There are three key pieces of heating equipment used in standard-grade straw mushroom spawn production: the electric temperature-control cabinet, the biochemical incubator, and electric heaters.
Electric Temperature-Control Cabinet
- Principle/Features: Works on natural convection: cold air enters through a lower vent, gets heated by an electric heating element, then rises by convection along both sides and enters the inner chamber through small holes on the cabinet walls; temperature stability is controlled by an adjustable lid on top.
- Advantages: Simple construction.
- Drawbacks/Notes: Only suited to cool weather — not a good fit for hot seasons.
Biochemical Incubator
- Principle/Features: Controls temperature, humidity, and airflow all at once.
- Advantages: Holds a stable temperature and cools effectively — usable year-round.
- Drawbacks/Notes: —
Electric Heaters
(Electric heaters come in three types — choose whichever fits your scale and budget best.)
3.1. Reflective Electric Heater
- Principle/Features: Built from a heating element, a temperature controller, a reflector, an outer housing, and a protective grille.
- Advantages: Quartz-tube models radiate infrared heat effectively and last a long time.
- Drawbacks/Notes: Exposed resistance-wire models aren’t safe to use. Quartz-tube models tend to concentrate heat too much in one corner of the room (or grow house).
3.2. Fan-Forced Electric Heater
- Principle/Features: Same as the reflective type, with an added fan.
- Advantages: Distributes heat more evenly across the room.
- Drawbacks/Notes: —
3.3. Oil-Filled Electric Heater
- Principle/Features: The heating element sits inside the oil channel of the fin-style radiator, transferring heat via circulating oil.
- Advantages: Distributes heat evenly, doesn’t dry out the air, and has a long service life.
- Drawbacks/Notes: —
2. Humidifying Equipment
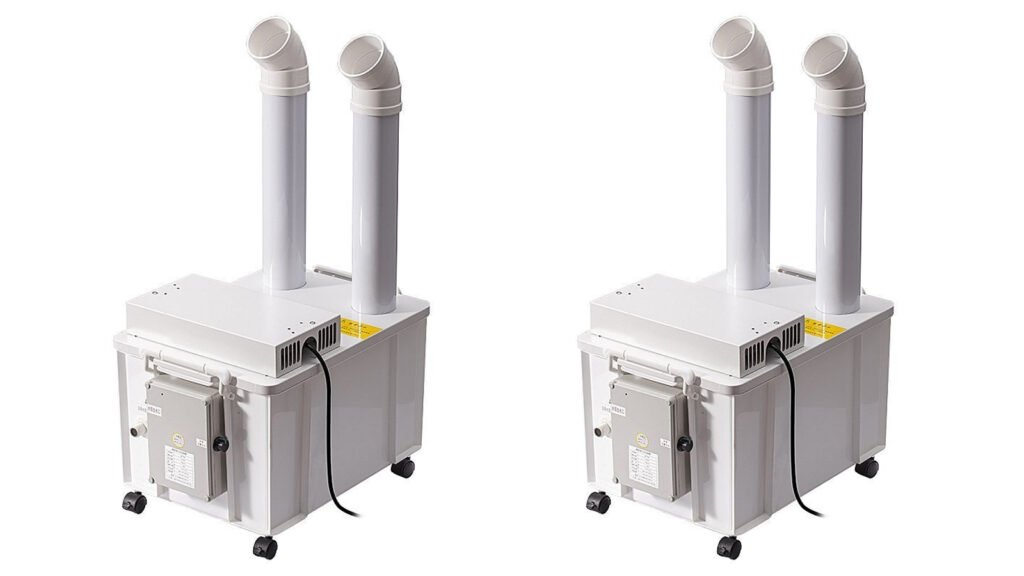
There are four humidifiers commonly used in standard-grade straw mushroom spawn production: centrifugal humidifiers, electrode humidifiers, ultrasonic humidifiers, and automatic misting systems.
VNmushrooms Farm has summarized the features of each in the table below to help you choose the right fit for your scale and budget.
| Equipment | Principle/Specs | Advantages | Drawbacks |
| Centrifugal humidifier | Uses high-speed centrifugal force to fling water into a fine mist, raising humidity | Easy to use and control | Larger droplet size, smaller humidifying radius, affects room temperature |
| Electrode humidifier | Uses 3 corrosion-resistant stainless steel/copper electrode rods in a water tank; three-phase current passing through the water heats it and produces steam | Simple construction, easy to build, heating element isn’t damaged by low water | Electrodes and tank need regular cleaning/descaling, or resistance rises and cuts output |
| Ultrasonic humidifier | An electronic circuit generates high-frequency ultrasonic vibration that turns water into mist | Very fine droplets, high humidifying efficiency | — |
| Automatic misting system | Main line + branch lines + micro-mist nozzles; nozzles spaced 2–3 m apart | Easy to install, well suited to large-scale use | Nozzles clog easily |
During hot weather, managing straw mushroom production mostly comes down to cooling things off. Where budget allows, growers can use a chiller or air conditioning, though both come with a substantial investment and energy cost.
The most economical approach is covering the grow house roof with shading material to create a cooler, shaded environment, combined with misting on the roof or inside the grow house (ideally using well water) — this typically brings the temperature down by about 3–5°C.
3. DIY Straw Mushroom Inoculation Tools
Simple spawn-transfer tools are mostly hand-made by growers themselves to save money. The most common material is bicycle spokes; stainless steel wire, welding rods, or magnesium alloy wire are preferred for making inoculation tools.
If your budget allows, it’s worth buying properly manufactured straw mushroom inoculation tools that meet technical standards from a reputable supplier.
| Tool | How to Make It | Purpose |
| Inoculation knife | Heat the tip of a steel wire red-hot, bend it to a 90° angle, flatten it, and grind it into a thin, sharp, sickle-shaped blade with cutting edges on both sides | Cutting spawn lengthwise on slant agar media |
| Inoculation hoe | Heat red-hot, flatten, and grind into a sharp spade-shaped edge; heat red-hot again and bend to 90° to form a hoe/rake shape | Scraping off aged mycelium and fruiting-body primordia from the surface, and cutting spawn crosswise on slant agar media |
| Inoculation spatula | Heat red-hot, flatten, and grind into a thin, sharp spade shape | Taking fruiting-body tissue or mother spawn along with a small agar block |
| Inoculation loop | Take a stainless steel acupuncture needle, cut off the head/handle, leave 5.5–6 cm, and coil the tip into a 3–4 mm ring. You can also buy a dedicated inoculation handle from a medical supplier and fit the loop into the hole on the handle | Transferring spore suspensions and similar samples |
| Inoculation needle | Take a stainless steel acupuncture needle, leave a 4.5–5 cm length, either bent or straight, then fix it into an inoculation handle the same way as the loop | Taking spores from gills; picking small colonies from a petri dish |
| Inoculation spoon | Heat red-hot, flatten, and shape into a thin, sharp spoon | Inoculating spawn into sawdust, grass powder, or grain-based media |
The inoculation room commonly also uses tools and equipment such as: scalpels, surgical knives, alcohol lamps, square enamel trays, petri dishes, wide-mouth jars (for alcohol-soaked cotton), inoculation-needle racks (made from rubber stoppers), and spawn bottle stands (for holding bottles steady at any angle or height).
4. Plastic Bags for Spawn Production
The bag typically used for straw mushroom spawn production measures 30 cm long × 17 cm wide, with a thickness of 0.04–0.05 mm. The bag mouth’s diameter needs to match your bagging machine’s output; the film shouldn’t be too thick (which wastes money) but also not too thin, since that tears easily and invites contamination.
| Material | Heat Resistance | Characteristics | Application |
| PP (Polypropylene) | 132°C, doesn’t melt | High durability, good transparency, high heat resistance. But at low temperatures, impact resistance is poor and the material becomes hard and brittle. | After sterilization, the bag hugs the substrate tightly with no gaps, making it easy to observe mycelium growth. The top-preferred material for spawn production. |
| HDPE (High-Density, Low-Pressure Polyethylene) | 115–135°C | Flexible, resists cracking at low temperatures; strong along the lengthwise direction but tears easily crosswise. Drawback: after sterilization, gaps form between the bag and the growing medium, and transparency is lower than PP bags. | Sterilized using atmospheric-pressure steam |
| LDPE (Low-Density, High-Pressure Polyethylene) | Lower than HDPE | Soft, transparent, flexible, good impact resistance, high tensile strength. Not suitable for spawn production or growing on already-sterilized (cooked) substrate. | Suited to growing oyster mushrooms on live substrate and straw mushrooms in bags |
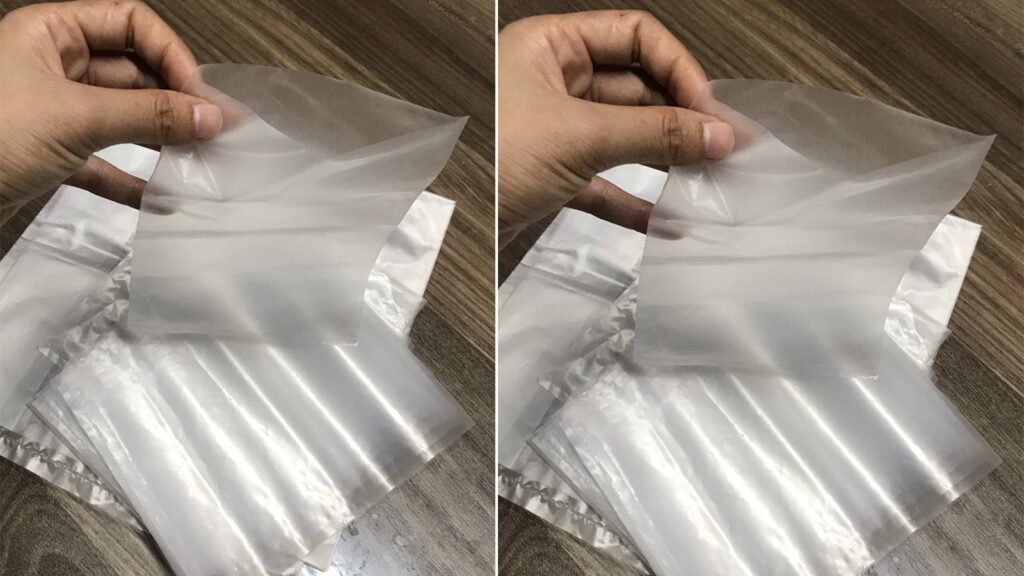
Quality Standards for Straw Mushroom Spawn Bags:
Here are 6 quality standards to look for when choosing bags for straw mushroom spawn:
- Made from new, high-quality raw material — no recycled plastic.
- Uniform film thickness and consistent bag width.
- No pinholes or punctures.
- Smooth surface with no bumps or dents.
- Good tensile strength — doesn’t tear easily.
- Withstands high heat: after being filled with substrate and sterilized at 100°C for 14–16 hours, the bag doesn’t tear or melt.
5. Glassware
Used mainly for isolation and spawn production. The glassware needed for straw mushroom spawn production is summarized in the table below:
| Item | Purpose | Specifications |
| Test tubes | Producing mother spawn | 18–20 mm inner diameter, 180–200 mm long |
| Spawn bottles | Producing pure-culture grade or production spawn | Clear white glass, 200 mm tall, 30 mm mouth, 750 ml capacity |
| Glass canning jars | Substitute for spawn bottles; culturing pure-culture grade spawn | Clear white, 105 mm tall, 62 mm mouth, 500 ml capacity |
| Erlenmeyer flasks | Preparing culture media; holding sterile water | 2 × 500 ml + 2 × 1,000 ml |
| Beakers | Preparing culture media | 2 × 500 ml |
| Graduated cylinders / measuring cups | Measuring solutions | 1 × 500 ml + 1 × 1,000 ml |
| Funnels | Pouring culture media | 1 × 9 cm diameter + 1 × 17 cm |
| Wide-mouth bottles | Holding alcohol | 2–3 × 50 ml |
| Alcohol lamps | Flame-sterilized inoculation work | Quantity depends on production needs |
| Thermometers | Measuring substrate temperature; a wet-dry bulb thermometer for spawn-run and grow-room temperature/humidity | Glass thermometer |
| Scale | Weighing substrate materials | Precision (pharmacy-grade) scale, 500 g capacity |
Frequently Asked Questions
Can I make all my straw mushroom inoculation tools at home?
Yes. Every straw mushroom inoculation tool can be hand-made at home without buying anything pre-made. Just make sure to use the right materials (stainless steel, welding rod, or magnesium alloy wire) to avoid rust, which can introduce contamination down the line.
Should I choose PP or HDPE bags for straw mushroom spawn?
PP bags are the better choice for straw mushroom spawn production if your budget allows — they hold up to heat better, hug the growing medium tightly after sterilization, and make it easier to spot mycelium growth and catch early signs of contamination. HDPE bags are a reasonable alternative when sterilizing with atmospheric-pressure steam, even though they’re a bit less transparent and don’t hug the medium as tightly.
Does using tap water affect straw mushroom spawn quality?
It can, if your water source is too dirty or contains a lot of impurities — that clogs misting nozzles and raises the contamination risk for the surrounding culture medium. Use clean water consistently throughout straw mushroom spawn production and cultivation.
For a high-quality, high-yield straw mushroom crop, growers should research and invest properly from the start in these four areas:
- Sterilization equipment for straw mushroom spawn production
- Facilities for straw mushroom spawn production
- Equipment and tools for straw mushroom spawn production
- Chemicals used in straw mushroom spawn production
And the final link that determines the success of “Standard-Grade Straw Mushroom Spawn Production” is this: choosing and using the right chemicals, in the right doses — covered in article 4.
To learn more about growing high-yield, high-quality straw mushrooms, feel free to reach out to the VNmushrooms Farm engineering team any time — we’re happy to help.
Bài viết cùng chủ đề:
-
Growing Straw Mushrooms on Cotton Waste: Outdoor & Indoor
-
Growing Straw Mushrooms on Cottonseed Hulls: Outdoor & Indoor
-
10 High-Quality Straw Mushroom Strains: Selection Guide
-
High-Yield Straw Mushroom Growing: Part 9 – Setup & Disinfection
-
High-Yield Straw Mushrooms, Part 8: Spawn Quality & Storage
-
High-Yield Straw Mushrooms, Part 7: Grade II & III Spawn
-
High-Yield Straw Mushrooms, Part 6: Mother Spawn Production
-
High-Yield Straw Mushrooms, Part 5: Common Chemicals Used
-
High-Yield Straw Mushrooms, Part 3: Inoculation Rooms & Spawn Run
-
High-Yield Straw Mushrooms, Part 2: Spawn Sterilization Equipment
-
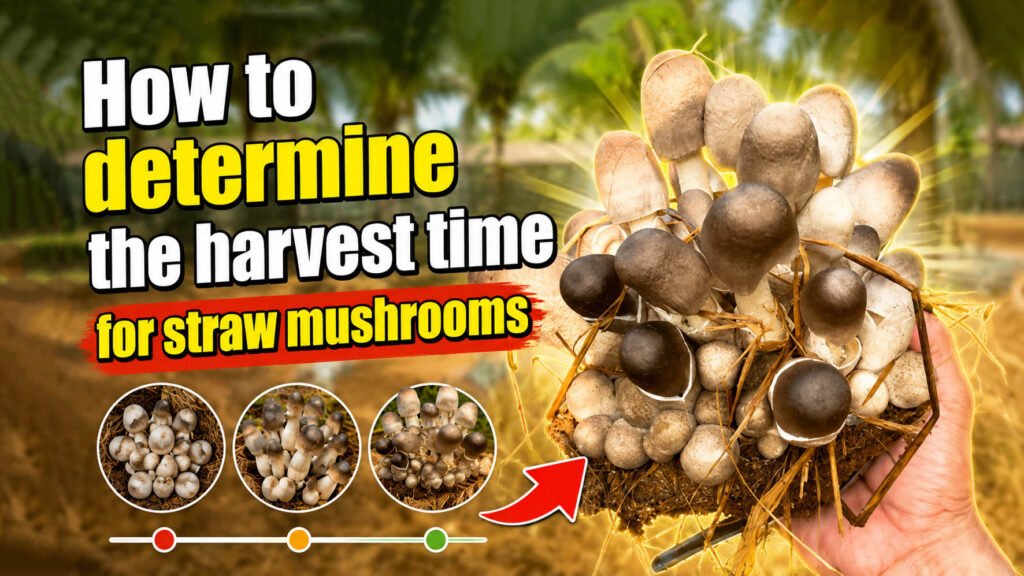
Straw Mushroom Growth Stages: When to Harvest for Best Yield
-

Straw Mushroom Farming: Low-Cost, High-Return Business