
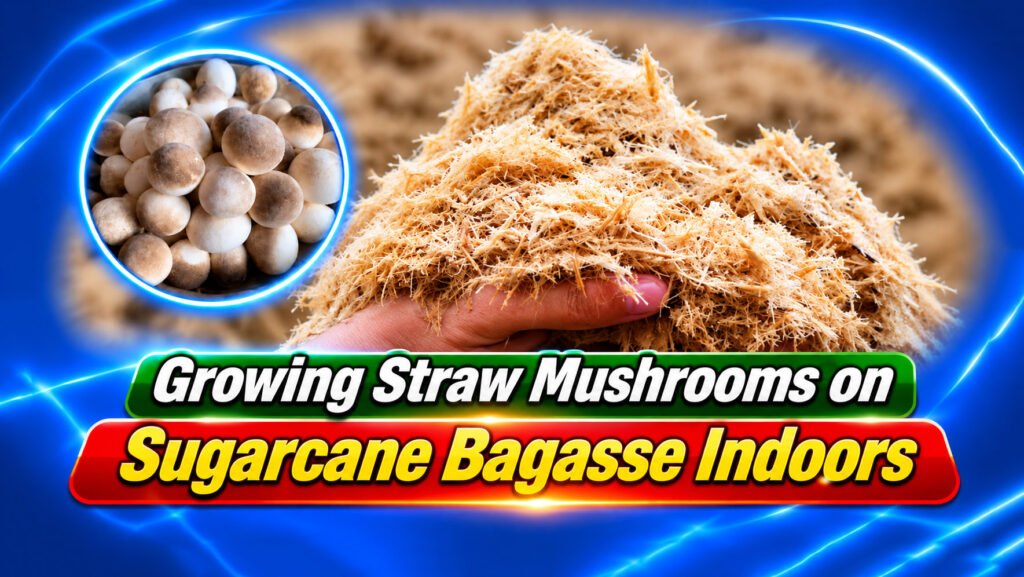
Growing Straw Mushrooms on Sugarcane Bagasse Indoors
Sugarcane bagasse is an agricultural byproduct you can put to work growing straw mushrooms, and it’s best suited to indoor growing. In this guide, VNmushrooms Farm walks through how to grow straw mushrooms on sugarcane bagasse effectively.
Author: Hồng Văn Sâm — Edible & Medicinal Mushroom Specialist. Content Advisor at VNmushrooms Farm.
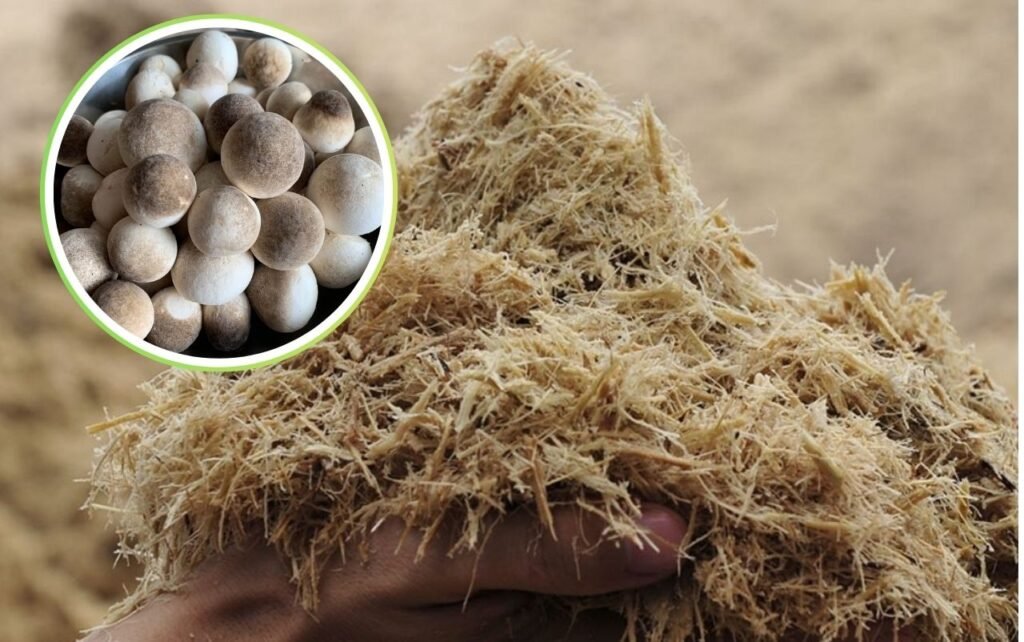
Step 1: Choose and Prepare the Growing Site
Growing Straw mushrooms on sugarcane bagasse is best done indoors. The requirements and site preparation can be adjusted flexibly to fit the actual conditions of each growing area.
Step 2: Mix the Substrate and Inoculate the Spawn
When using bagasse from a sugar mill as a straw mushroom substrate, it needs to be dried thoroughly, ground fine, then mixed so that the coarse and fine particles are evenly blended before use.
If you’re using bagasse that’s been in storage, dry it again to prevent mold, rot, and spoilage, and to make sure it’s fresh and good quality.
Because bagasse is high in sugar, it’s very prone to insect infestation, mold, spoilage, and fermentation, so it generally shouldn’t be stored for long periods.
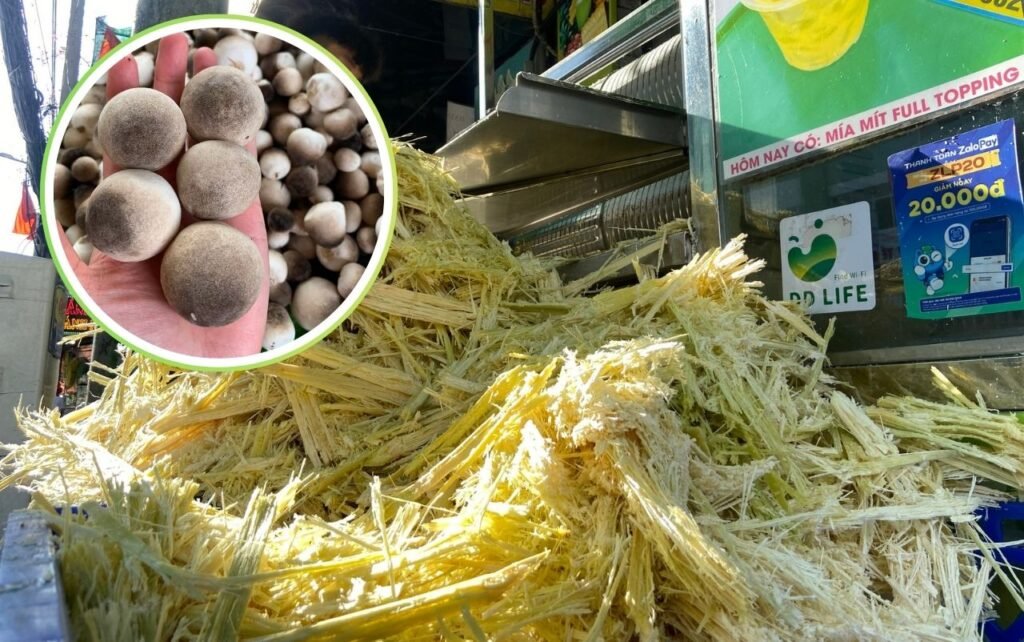
VNmushrooms Farm recommends 2 substrate formulas for growing straw mushrooms on sugarcane bagasse:
- Formula 1: Bagasse powder 80%, dry straw powder 10%, wheat bran 8%, gypsum 1%, lime 1%.
- Formula 2: Bagasse powder 90%, wheat bran 7%, gypsum 1%, lime 1%, superphosphate 1%.
Read more: A Roundup of the 10 High-Quality Straw Mushroom Spawn Strains Available Today.
Here’s how to mix the substrate:
- Mix the ingredients above thoroughly, then add water until the substrate’s moisture reaches about 65%, holding the pH at 7.2–7.4.
- After loading the substrate onto the shelves, begin fermentation: hold the temperature at 60°C for 2 hours, then ventilate lightly to bring it down to 52°C and hold it there for 2 days.
- Keep ventilating so the temperature falls naturally to 35°C, then inoculate the spawn.
Step 3: Manage the Bed During Growing
Within 2 days of inoculating the straw mushroom spawn, check whether the spawn has germinated. If it hasn’t germinated or hasn’t established on the substrate, find out why and re-inoculate promptly.
Reference: High-Yield Straw Mushroom Growing: Part 9 – Setup & Disinfection
During mycelium growth, hold the grow room at around 30°C, with the substrate at 35–40°C.
Under normal conditions, the mycelium will cover the bed after 1 week. At this point, mist water to raise air humidity, and provide an appropriate amount of diffused light to stimulate pinhead formation.
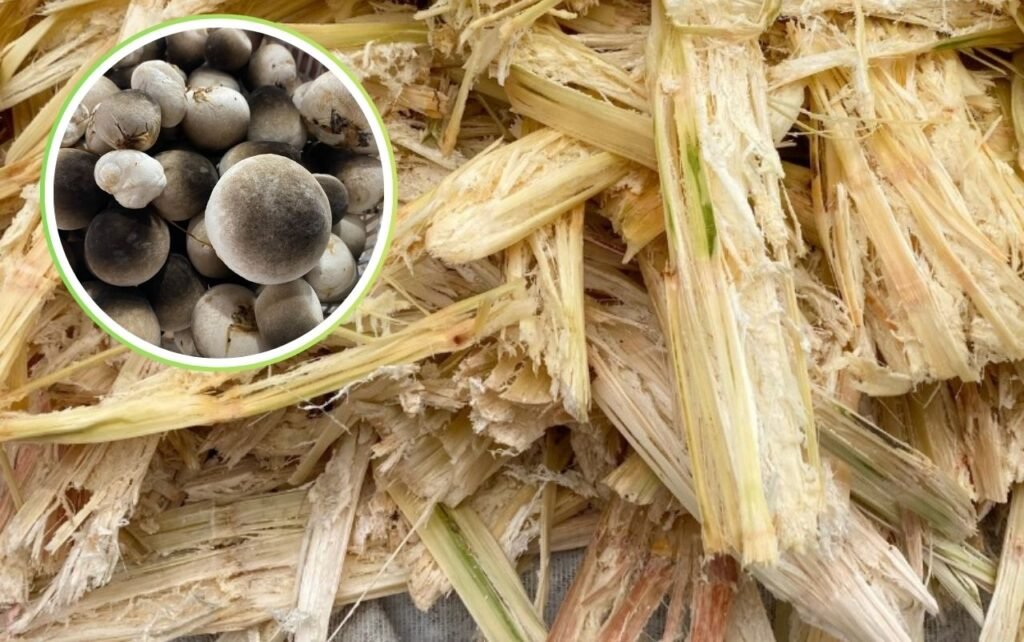
Once pinheads appear, pay particular attention to the grow room temperature — a sudden temperature drop will kill the mushrooms. Also make sure to ventilate to keep carbon dioxide (CO₂) from building up too much and inhibiting mushroom growth.
When misting to raise humidity, mist lightly and often — never soak the bed with a large volume of water.
After the first flush is harvested, remove any dead mushrooms and clean the bed surface thoroughly.
After 2 days, mist with water (the water temperature should match the room temperature, typically around 30°C) to encourage the second flush. You can typically harvest 2–3 flushes.
Read more: How to Tell Good Straw Mushroom Spawn from Bad.
Straw Mushroom Farming: Frequently Asked Questions
Should I save sugarcane bagasse for growing straw mushrooms later?
No — don’t store bagasse for long before growing straw mushrooms. Sugarcane is high in sugar, so bagasse is very prone to insects, mold, spoilage, and fermentation.
What should I do before using bagasse to grow straw mushrooms?
Dry the bagasse again before use to prevent mold, rot, and spoilage.
Is growing straw mushrooms on sugarcane bagasse economically worthwhile?
Not at large scale or with heavy investment. It’s best used simply to avoid waste and to produce clean food for your own household.
Do I need to add anything else when growing straw mushrooms on bagasse?
Yes. For good results, supplement the bagasse with other ingredients such as dry straw powder, wheat bran, superphosphate, and so on.
Growing straw mushrooms on sugarcane bagasse is a way to put an agricultural byproduct to work and produce clean food. You can also readily use other local agricultural byproducts to grow straw mushrooms, such as:
- Growing straw mushrooms on rice straw.
- Growing straw mushrooms on cotton waste.
- Growing straw mushrooms on sugarcane bagasse.
- Growing straw mushrooms on corn stalks (cobs).
- Growing straw mushrooms on soybean stalks.
- Growing straw mushrooms on wheat straw.
- Growing straw mushrooms on mixed materials.
- Growing straw mushrooms on cottonseed hulls.
The VNmushrooms Farm engineering team will walk through the growing process for each of the methods above in upcoming guides. Growers need to master the mixing formulas and technical thresholds — following the process correctly leads to high yield and good quality when growing straw mushrooms.
- Straw Mushroom Growth Stages: When to Harvest for Best Yield
- High-Yield Straw Mushrooms, Part 8: Spawn Quality & Storage
- High-Yield Straw Mushroom Growing: Part 9 – Setup & Disinfection
- High-Yield Straw Mushrooms, Part 7: Grade II & III Spawn
- High-Yield Straw Mushrooms, Part 4: Heating, Humidity & Tools
Bài viết cùng chủ đề:
-
Growing Straw Mushrooms on Soybean Stalks
-
Growing Straw Mushrooms on Corn Stalks and Cobs
-
Growing Straw Mushrooms on Cotton Waste: Outdoor & Indoor
-
Growing Straw Mushrooms on Cottonseed Hulls: Outdoor & Indoor
-
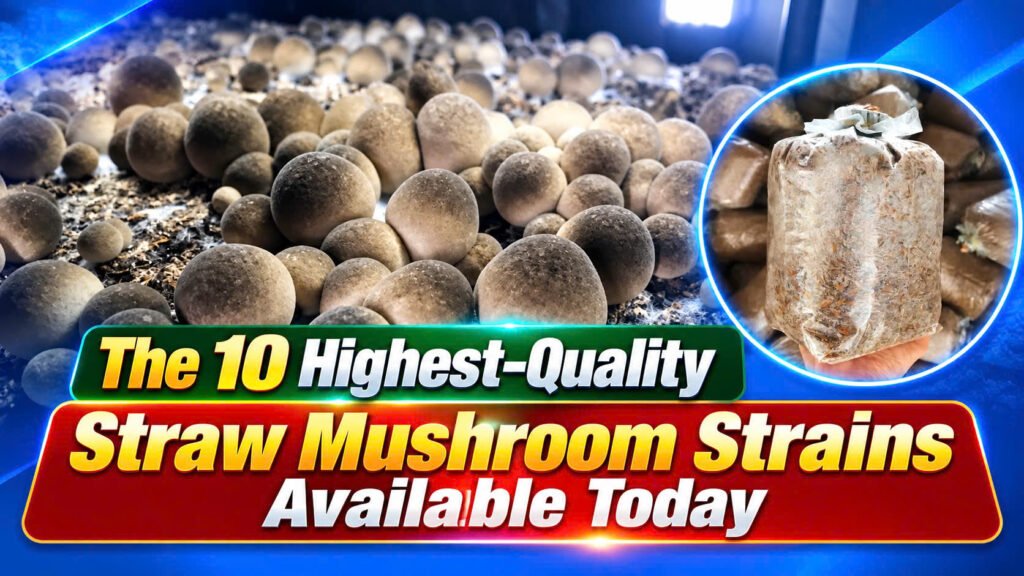
10 High-Quality Straw Mushroom Strains: Selection Guide
-
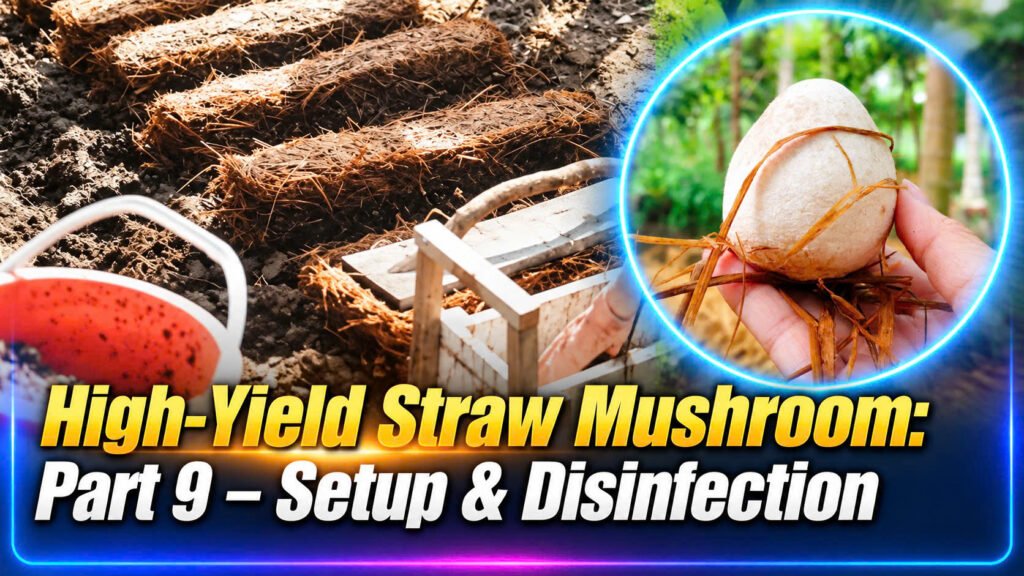
High-Yield Straw Mushroom Growing: Part 9 – Setup & Disinfection
-
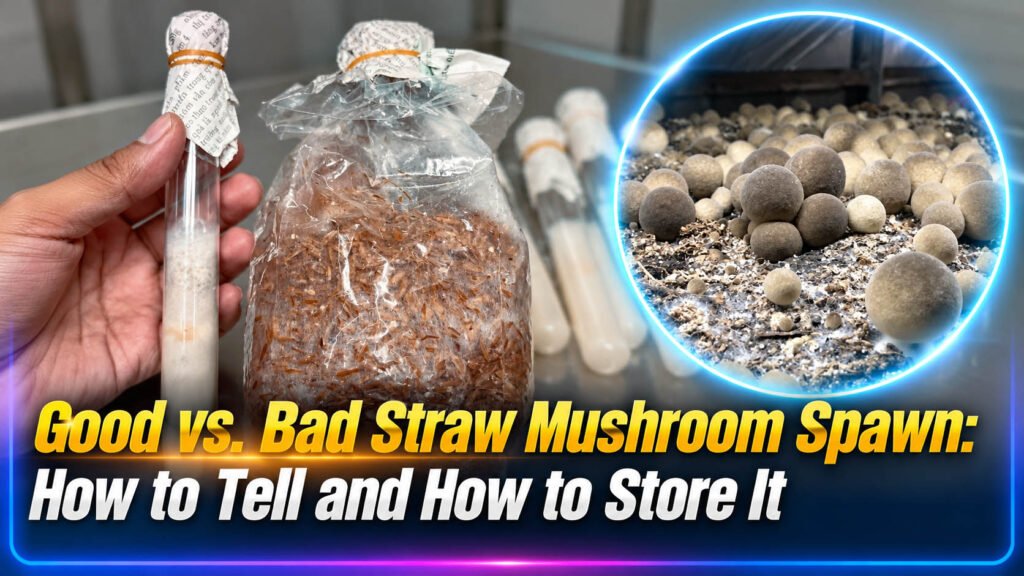
High-Yield Straw Mushrooms, Part 8: Spawn Quality & Storage
-
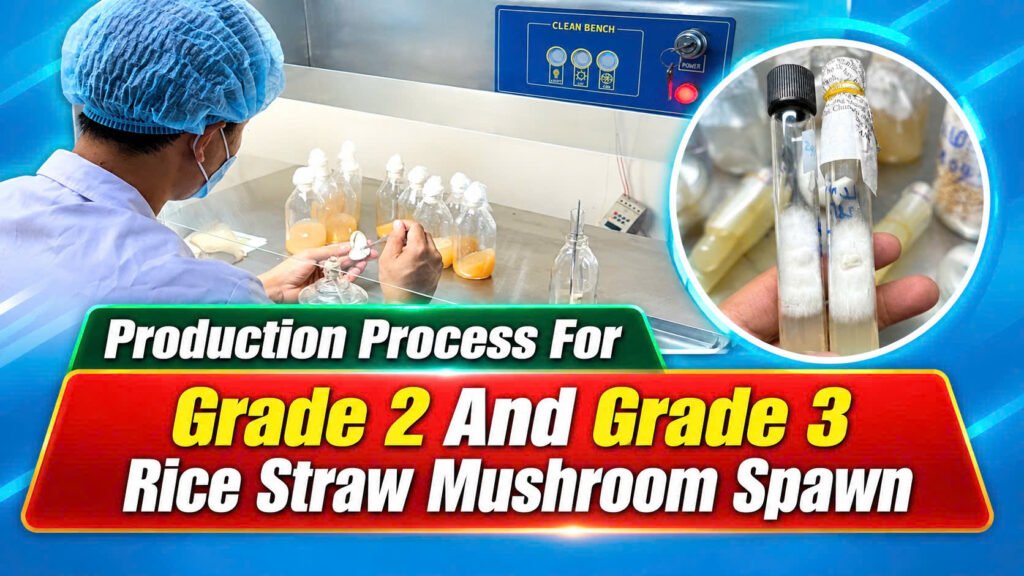
High-Yield Straw Mushrooms, Part 7: Grade II & III Spawn
-
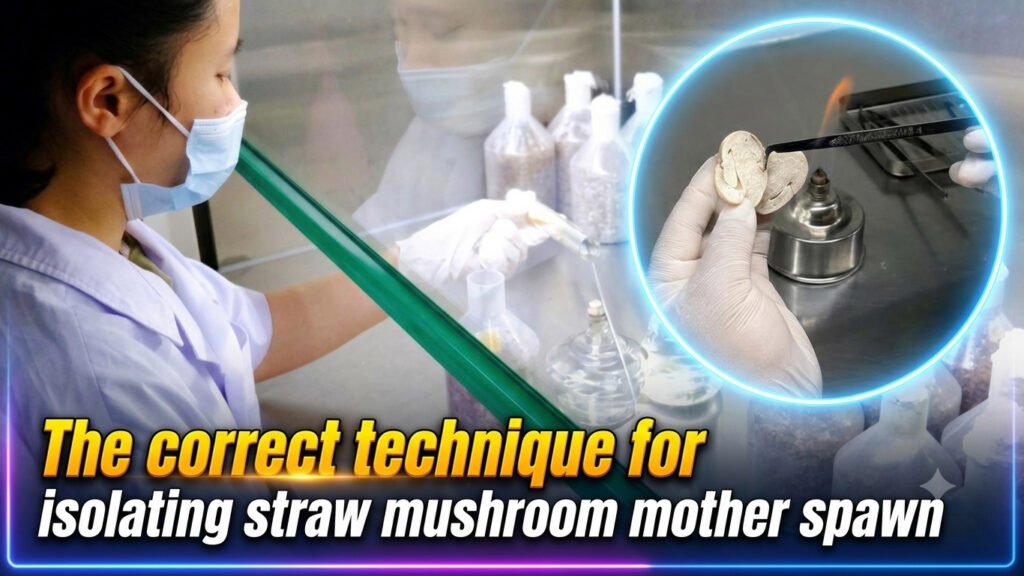
High-Yield Straw Mushrooms, Part 6: Mother Spawn Production
-
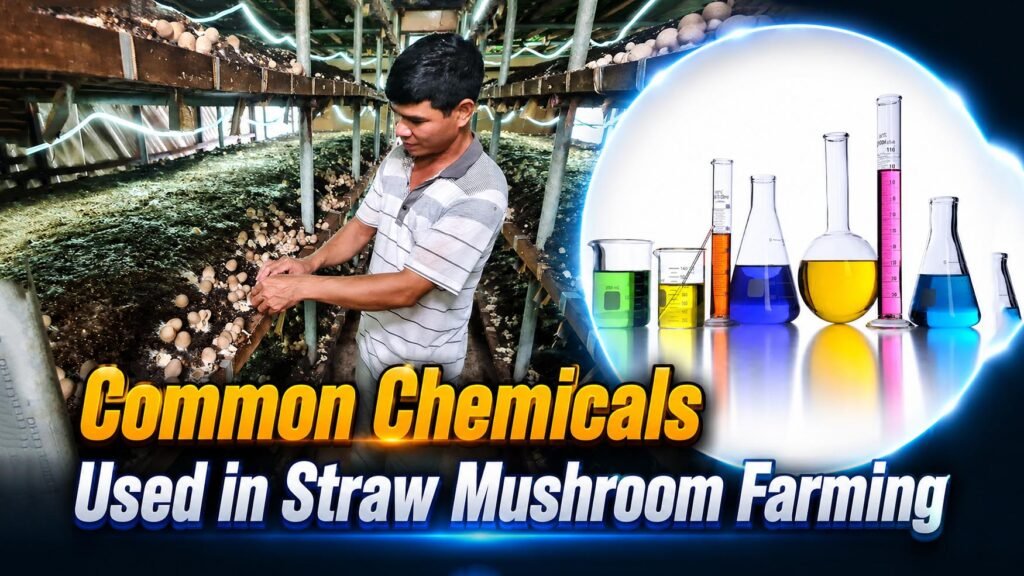
High-Yield Straw Mushrooms, Part 5: Common Chemicals Used
-
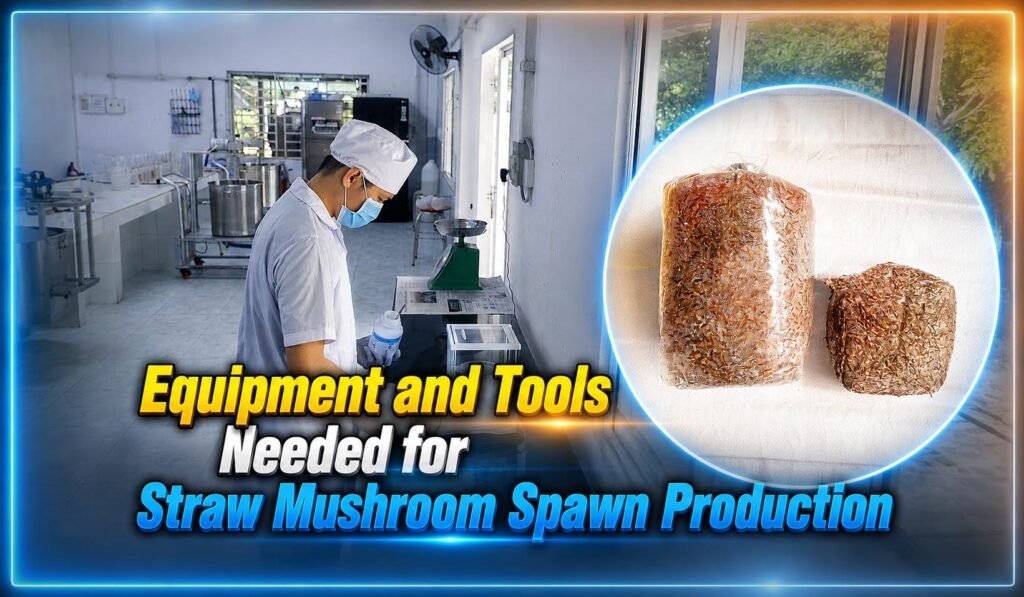
High-Yield Straw Mushrooms, Part 4: Heating, Humidity & Tools
-
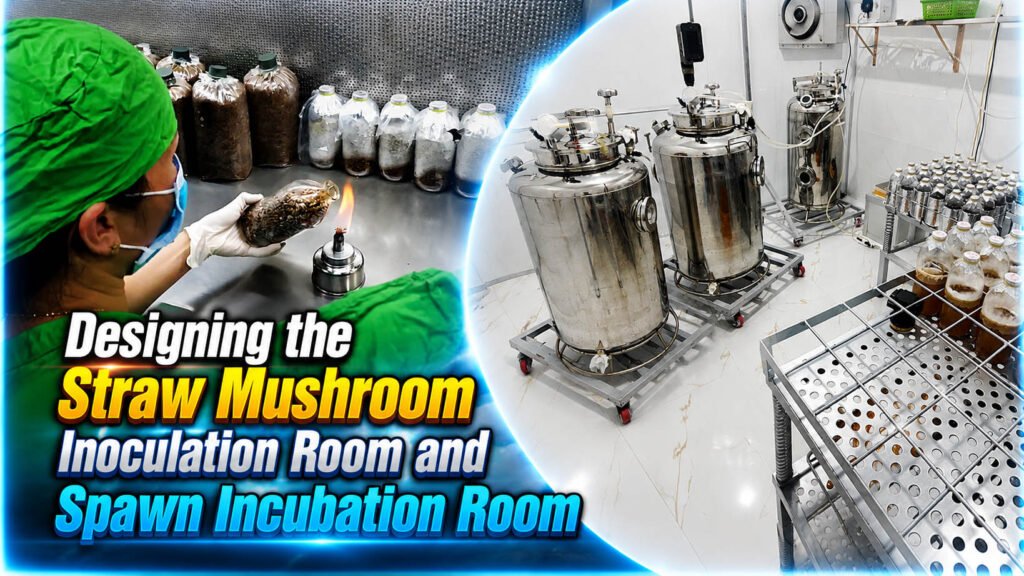
High-Yield Straw Mushrooms, Part 3: Inoculation Rooms & Spawn Run
-
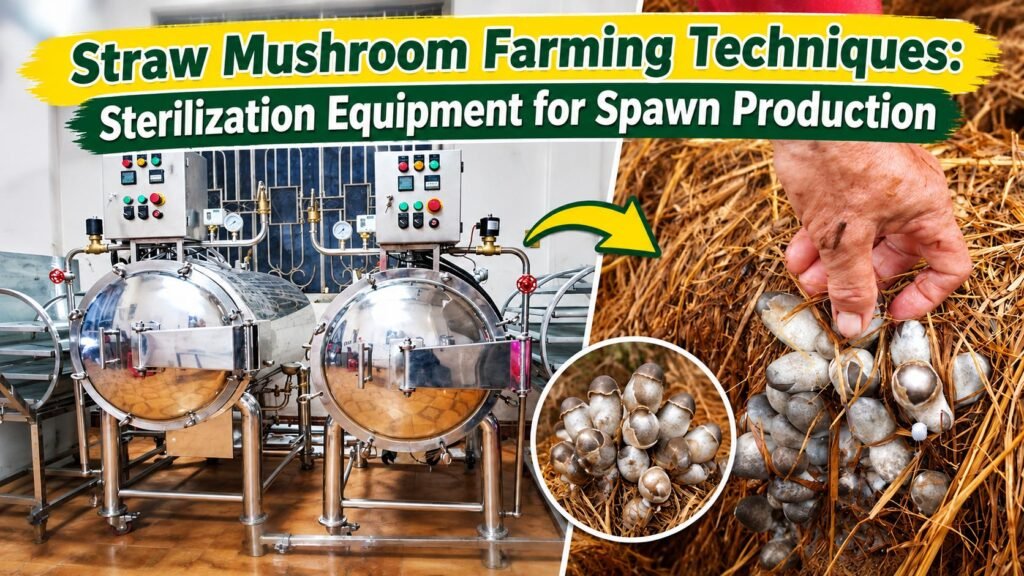
High-Yield Straw Mushrooms, Part 2: Spawn Sterilization Equipment
-
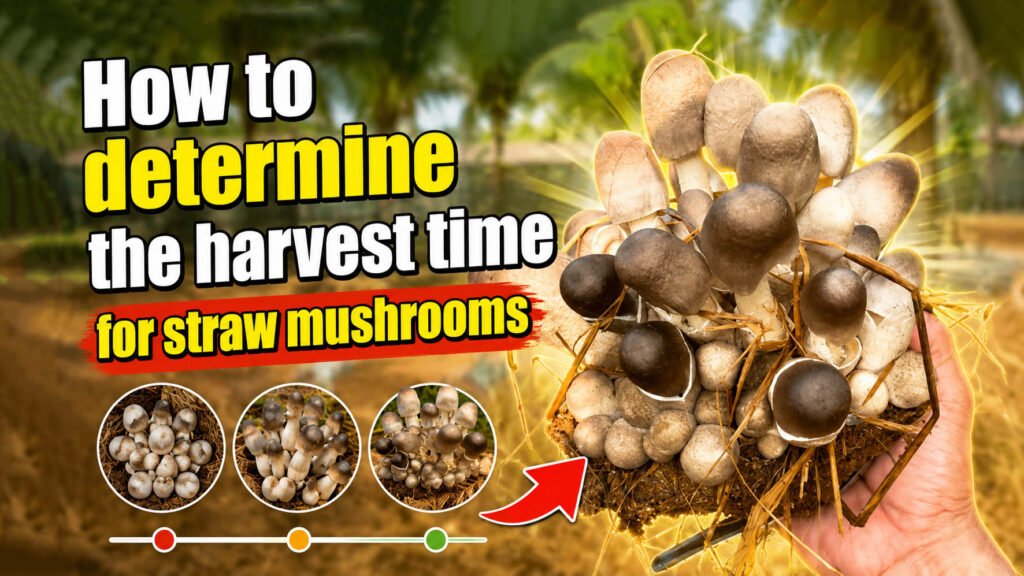
Straw Mushroom Growth Stages: When to Harvest for Best Yield
-
Straw Mushroom Farming: Low-Cost, High-Return Business